A successful painting project never starts with a brush; it starts with paint prep. Whether the goal is a fresh interior look or a complete color change, the quality of the preparation determines how smooth, efficient, and mess-free the entire process will be. Homeowners don’t need to handle the technical side of getting a room ready, but a little organization before the professional painters arrive can make everything faster and cleaner. Once the crew gets on-site, they take over the deeper, detail-oriented paint prep that creates a flawless finish.
This guide walks through two checklists: what homeowners should do ahead of time, and what professional painters handle once they begin the project.
For Homeowners: Your Pre-Paint Prep Checklist
1. Clear Small Items and Personal Belongings
Before the crew begins their paint prep, the homeowner should remove any small, loose, or fragile items from the space. This includes books, décor, candles, electronics, and anything sitting on tables or shelves. Clearing these items keeps the room organized and allows painters to start their paint prep without navigating clutter or worrying about accidental damage.
2. Remove Wall Décor, Curtains, and Lightweight Fixtures
Homeowners don’t need to remove light fixtures or large installations (that’s part of professional paint prep), but anything lightweight should come down in advance. Frames, artwork, curtains, and easily detached wall hangings should be removed and stored safely. This step helps painters begin their paint prep immediately instead of spending time taking down items that could have been handled beforehand.
3. Provide Access and Communicate Any Restrictions
A smooth paint prep process requires proper access. Hallways should be clear, doors unlocked, and pets and children kept away from the workspace. Homeowners should also inform the painters about any sensitive rooms, fragile floors, or items requiring extra caution. This helps the team plan their paint prep efficiently and ensures no areas are accidentally entered or overlooked.
4. Identify Problem Areas or Prior Concerns
If there are water stains, cracks, past leak issues, or suspicious marks on the walls, flagging them in advance makes a difference. Professional paint prep often involves patching, priming, or treating problem areas, but knowing about them ahead of time helps the team bring the right materials and schedule enough time. Transparency ensures a cleaner, more accurate paint prep process.
5. Make Space for Tools and Equipment
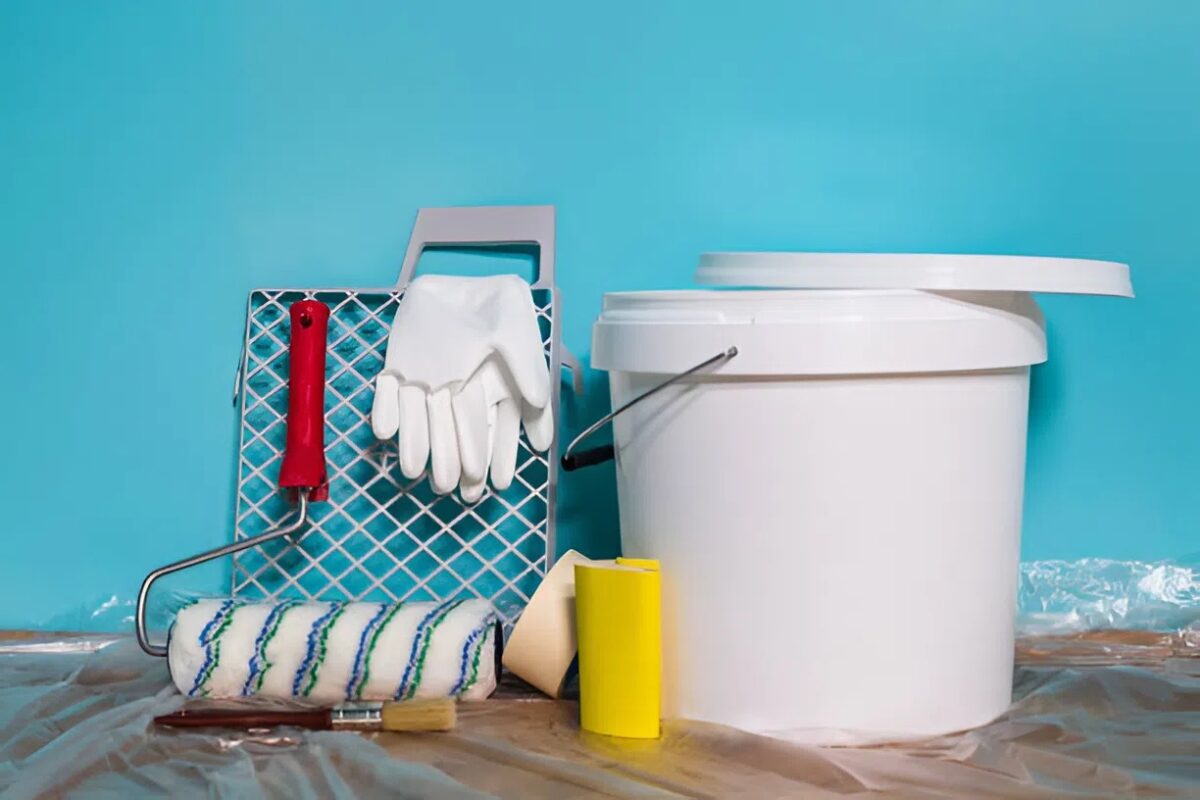
Painters typically bring everything needed for detailed paint prep: ladders, drop cloths, tape, sanders, patching compounds, primers, and rollers. Having a small corner or entry area cleared for equipment makes setup faster and keeps the workflow organized. Homeowners don’t need to lift furniture or move heavy items; the pros handle that. This step simply ensures they can begin paint prep without obstacles.
For Professionals: The On-Site Paint Prep Process
1. Protecting Furniture, Floors, and Surfaces
Once the team arrives, the real paint prep begins. Professionals handle all surface protection: moving heavy furniture, covering everything with plastic or canvas drop cloths, taping trim edges, and shielding floors. This is the most important part of paint prep, as it prevents spills, splatters, and unnecessary cleanup. The level of precision here is what sets professional painters apart.
2. Cleaning, Patching, and Repairing Walls
Proper paint prep is meticulous. The crew washes walls to remove dust, grease, and residue that could affect adhesion. They repair cracks, patch holes, sand uneven areas, and address peeling sections. If needed, they caulk gaps for cleaner lines. This step ensures the surface is smooth and ready to hold paint evenly, which is something homeowners should not attempt on their own. Skilled paint prep is the foundation of a flawless finish.
3. Priming Where Needed
Priming is not optional in many cases, and professionals know exactly when it’s required. Water stains, heavy color changes, glossy finishes, patched areas, or high-moisture spaces often need special primers. Proper priming is core to expert paint prep, ensuring durability, even coverage, and long-lasting color retention. This step is one of the reasons hiring professionals is worth it — incorrect priming can ruin the entire finish.
4. Setting Up Lighting, Ventilation, and Safety Gear
The final stage of professional paint prep involves setting up temporary lights, airflow systems, respirators, ladders, and safety equipment. Good lighting reveals imperfections during paint prep, ventilation ensures cleaner drying conditions, and safety gear prevents accidents. This part of the process is technical and handled entirely by the crew.
Effective paint prep is the backbone of a smooth, high-quality painting project. When homeowners handle a few simple steps beforehand, and professionals take over the technical preparation, the entire process becomes cleaner, faster, and far more efficient. With the right preparation on both sides, the final finish looks sharper, lasts longer, and reflects true craftsmanship.
Choose Heartland Painting for Expert Paint Prep and Professional Results
Heartland Painting brings precision, care, and exceptional workmanship to every project. From thorough paint prep to flawless finishing, our team ensures your home gets the attention it deserves. If you’re ready to refresh your space, contact us today to schedule a consultation and experience the difference of a professional, detail-driven approach.